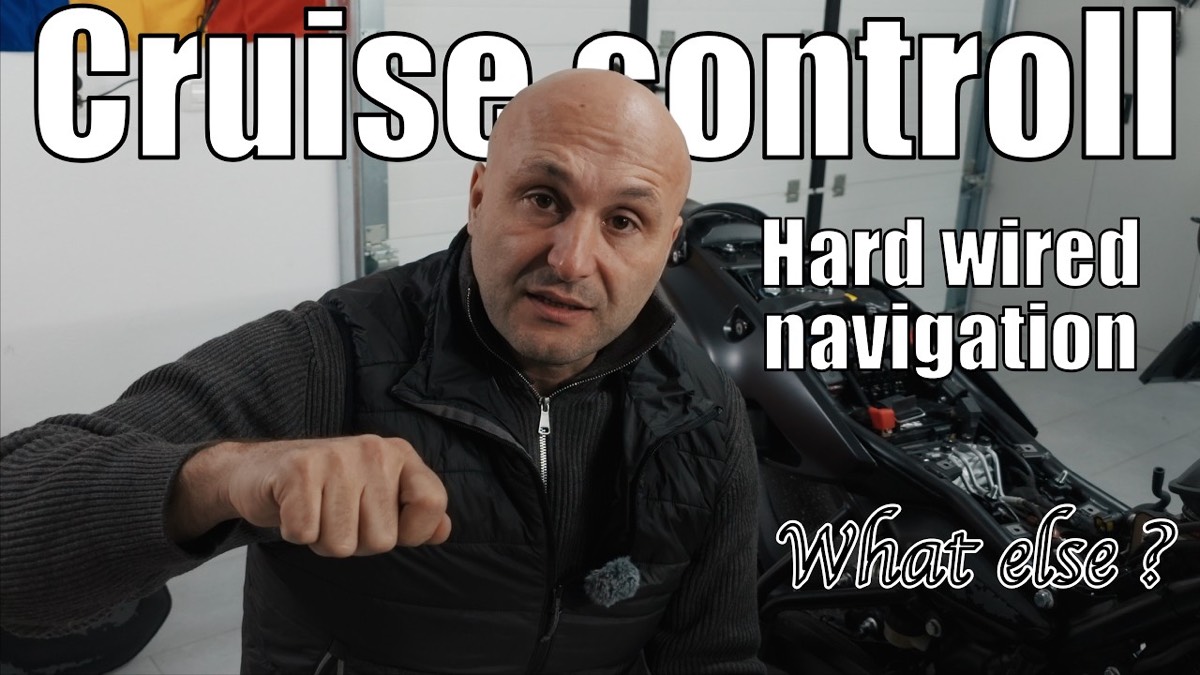
Cruise control, clean switched power and a hardwired tablet mount, all in one session. Three jobs on my Himalayan 450, and it took about one hour.
After the Isotta windscreen and GPS mount, this is the next step in getting the bike ready for touring. Disclosure: Hold My Throttle gave me a big discount on this kit. It's not a paid review and the opinions are my own.
First, the tank comes off
Everything starts with removing the fuel tank. There are plenty of videos online showing how, and it's just a few bolts and connections: two nuts and three screws. That's five fasteners to reach everything I needed.
The Oxford junction box
The junction box gives you one connection to the battery, a plus and a minus, and four outputs for whatever you want to power: auxiliary lights, a GPS, a phone mount. So the pile of connectors on the battery stops growing.
It also has one extra wire, which goes to a switched plus on the motorcycle: a plus that only gets 12 volts when you turn the key. Take the key out, the voltage drops to zero, and nothing drains your battery while the bike is parked.
Finding a switched plus
I found a really nicely located one. At the back of the bike there are two connectors side by side: the red one is the OBD plug, and next to it there's a black one. With its notch pointing away from you, the pin at the edge is a switched plus. I made a small hole in the connector's protective cap, passed a wire with a pin through it, plugged it in and covered everything up as well as I could.
Always check with a multimeter before you connect anything. I put the negative probe on the frame and the positive on my new wire, turned the key, and got 12 volts. Then I connected the Oxford to the battery and to that wire, using a connector and heat-shrink tube. With the key on, the blue LEDs of the junction box light up. Key off, they go out.
Hold My Throttle cruise control
I chose Hold My Throttle, an Indian company from Bengaluru. It's a plug-and-play install: in the box you get the control module, a waterproof three-button switch with LED indicators, the wiring harness and some zip ties. They also have a very detailed install video on their YouTube channel, so check that one for the exact routing.
The switch sits right between the mirror and the grip, and its cable runs alongside the other cables. On the throttle side, I took out one airbox bolt and loosened two others so I could lift it a little and pass the harness under the bracket. The main unit even has a slot for a zip tie to hold it to the frame, and the last connection goes to the OBD plug. A very neat installation.
Hardwiring the DMD tablet mount
The last job was connecting the DMD tablet mount to the junction box. Now, when the key is on, the tablet has power. All the wiring is tucked underneath, so you can't even see it. It looks as if it was made at the factory.
One hour for three devices: the tablet, the junction box and the cruise control. That's how easy it is to work on this motorcycle.
The road test
Out on the road, the tablet had power and the cruise control held the speed by itself. Pressing the plus button steps it up in 5 km/h increments. Then I tested the cut-offs one by one: a brief touch of the front brake, the clutch and the rear brake each disengaged it immediately, and resume brought it back. The button sits right at my fingertip.
I highly recommend the company. They move fast: the shipment from India to Romania took only one week.
What's next: no Christmas tree
The junction box still has three free outputs. The only things I'm craving now are a heated seat and heated grips. But I'm not going to fill this bike with gimmicks and turn it into a Christmas tree. It's my touring bike and my light off-road camping bike, and I'm going to treat it as such. You can follow every change on the bike's page in our garage.
Before you go
New to adventure riding? Start with the free off-road gear guide, and check our rider discount codes. And if you liked this one, subscribe on YouTube for the next rides.